You’ve found the perfect peel and stick wallpaper. It’s the ideal pattern to transform your rental kitchen or refresh a home office without a long-term commitment. But then you look at your walls and see the problem: there’s already wallpaper there. The big question pops into your head: “Can I just put the new, removable wallpaper right over the old one?”
The short answer is a cautious “yes, but…” While it’s technically possible, your success hinges entirely on one thing: the condition of the existing wallpaper underneath. As a seasoned DIYer, I’m here to guide you through the process, help you assess your unique situation, and show you the best way to prepare old wallpaper for peel and stick to ensure a beautiful, bubble-free result that won’t damage your walls when it’s time for a change.
The Honest Truth: Should You Do It?
Before we dive into the “how,” let’s tackle the “should you.” Laying peel and stick wallpaper on wallpaper is a bit of a gamble. It’s a fantastic shortcut if the stars align, but it can also lead to a frustrating mess if the underlying layer isn’t up to the task.
Think of it this way: your new temporary wallpaper is only as stable as the surface it’s stuck to. If the old wallpaper is loose, textured, or damaged, your new wallpaper will mirror those flaws and likely fail to adhere properly.
The Ideal Scenario (When it’s a great idea):
- You’re a Renter: You can’t remove the existing wallpaper, but you desperately want to cover it.
- The Old Wallpaper is Pristine: It’s smooth, firmly attached to the wall, and in perfect condition.
- It’s a Temporary Solution: You only need the look to last for a year or two.
- The Existing Wallpaper is a Nightmare to Remove: Some older, prepasted wallpaper or vinyl coverings can be a multi-day, gluey nightmare to strip.
The Red Flag Scenarios (When you should think twice):
- The old wallpaper is textured (like grasscloth or anaglypta).
- There are any loose seams, bubbles, or peeling corners.
- It’s in a high-moisture area like a bathroom, where steam can compromise the adhesives of both layers.
- The wallpaper is damaged, stained, or has a fabric-like texture that could trap air.
Your Step-by-Step Guide to a Flawless Application
If you’ve assessed your situation and are ready to proceed, follow this detailed guide. Proper preparation isn’t just a suggestion; it’s the key to your success.
Step 1: Assess the Existing Wallpaper Condition
This is the most critical step. Grab a flashlight and inspect every inch of the wall.
- Run Your Hand Over It: Does it feel perfectly smooth, or can you feel seams, textures, or bumps?
- Check the Seams: Are they tightly glued down? If you can slip a piece of paper under a seam, it’s a problem.
- Press on Bubbles: Do they feel hollow? Do they move when you press on them?
- Identify the Type: Is it a slick vinyl wallpaper or a more porous paper? This will affect adhesion.
Step 2: Gather Your Supplies
Being prepared makes the job infinitely easier. Here’s what you’ll need:
- Your new peel and stick wallpaper
- A large level or a plumb line (crucial for your first panel!)
- A sharp utility knife and extra blades
- A smoothing tool (often provided with the wallpaper) or a plastic squeegee
- A microfibre cloth
- Rubbing alcohol or a mild, non-abrasive cleaner
- A step ladder
- Pro-Tip: Have a hairdryer on hand for troubleshooting stubborn bubbles later.
Step 3: Prep the Wall Surface for Success
You cannot skip this step. A clean, stable surface is non-negotiable.
- Secure Any Loose Edges: If you find any minor lifting at the seams or corners, apply a small amount of strong, quick-drying craft glue underneath. Use a pin to inject the glue if needed, then press flat and wipe away any excess. Let it dry completely.
- Smooth Textured Seams: If you can feel the seams of the old wallpaper through your hand, they will be glaringly obvious through the new layer. Lightly sand them down with a fine-grit sanding block until they are flush with the rest of the wall. Wipe away all dust.
- Clean Thoroughly: Walls accumulate grease and dust, even under old wallpaper. Dampen your microfibre cloth with a 50/50 solution of water and rubbing alcohol and wipe down the entire surface. This removes any invisible residue that could prevent your removable wallpaper from sticking. Let the wall dry completely.
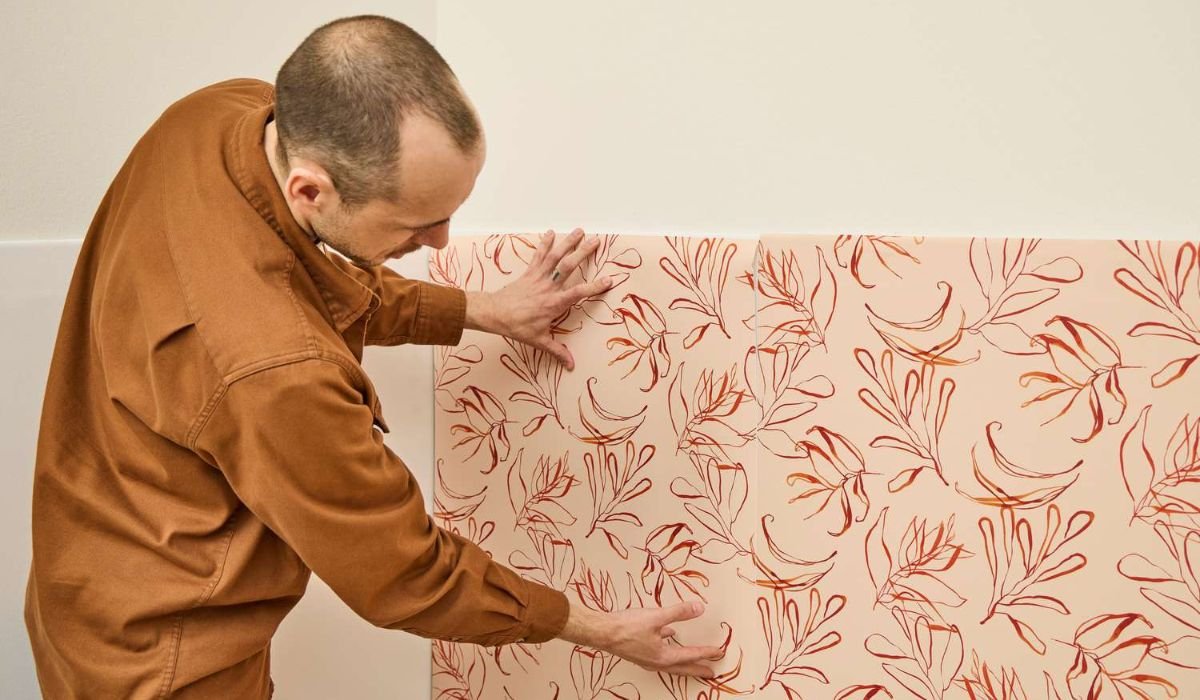
Step 4: The Hanging Process (The Fun Part!)
Now for the transformation. Patience is your best friend here.
- Find Your True Vertical: Do NOT trust the corners of your room or the existing wallpaper seams to be straight. Use a level or a plumb line to draw a perfectly vertical line on the wall where you will place the edge of your first panel. This guide line is your secret weapon for a professional-looking job.
- Hang the First Panel: Peel back about 12 inches of the backing paper from the top of your first panel. Align it carefully with your guide line, leaving a 1-2 inch overhang at the ceiling.
- Stick and Smooth: As you adhere the top section, use your smoothing tool to push out air bubbles from the center towards the edges. Slowly work your way down the panel, peeling away the backing as you go and continuously smoothing.
- Trim the Excess: Once the panel is perfectly placed, use a sharp blade and a straight edge to trim the overhang at the ceiling and baseboard. A fresh blade ensures a clean cut that won’t tear the paper.
- Repeat for Subsequent Panels: Butting seams carefully, repeat the process for the next panel, using the edge of the previous one as your guide (after confirming it’s still straight with your level!).
Troubleshooting Common Problems
Even with perfect prep, issues can pop up. Here’s how to handle them.
What If the Old Wallpaper is Textured?
Applying peel and stick wallpaper over textured wallpaper is the most common challenge. A light sanding might not be enough. Your best bet is to use a wallpaper sizing or a high-quality primer/sealer like Zinsser Gardz. This product is designed to lock in the texture and create a hard, smooth, non-porous surface that greatly improves adhesion. It’s an extra step, but it’s the only reliable way to tackle this problem.
Dealing with Bubbles and Wrinkles
If you see a bubble, don’t panic. Carefully peel back the section until you reach the bubble. Slowly re-apply, smoothing as you go. For stubborn, small bubbles that won’t re-adhere, you can sometimes use a pin to prick a tiny hole and use a hairdryer on a low, warm setting to reactivate the adhesive while you smooth it flat.
The Big Question: Removal & Damage
You chose removable wallpaper for a reason, so what happens when you want to take it down?
- The Best Case: You prepared properly, and the old wallpaper was secure. Your new wallpaper peels off cleanly, leaving the underlying layer intact.
- The Risk: The adhesive on the new wallpaper can be stronger than the old paste. When you pull, it can lift or tear the original wallpaper, revealing the drywall underneath. This is especially true for older, more delicate papers.
How to Remove It Safely: Always pull slowly at a 180-degree angle (parallel to the wall). Using a hairdryer to warm the adhesive as you peel can make the process easier and cleaner.
The Professional’s Verdict: When to Strip First
While covering old wallpaper is a viable shortcut, the gold-standard, professional practice is always to remove the old wallpaper first. This gives you a perfect, smooth wall surface (after a light sanding and priming) that guarantees the best possible application and easiest future removal for your peel and stick wallpaper. If the existing wallpaper is heavily textured, damaged, or you plan to live in your home for many years, the extra work of removal is well worth the effort and peace of mind.
Final Takeaway:
You absolutely can put peel and stick wallpaper over existing wallpaper, but treat it as a clever temporary fix, not a permanent solution. Your success depends entirely on a honest assessment and meticulous preparation of the wall underneath. If your current wallpaper is smooth, secure, and in good shape, go for it! If it’s textured or damaged, invest the time in either priming it with a heavy-duty sealer or removing it altogether for a flawless finish that will last.
Ready to start your project? Before you buy, always order a sample of your chosen peel and stick wallpaper and test it on a small, inconspicuous area of your wall first. This is the single best way to guarantee you’ll love the final result.